Showing posts with label Archival Ink. Show all posts

Saturday, 24 December 2016

Stencil Girl & PaperArtsy Winter Blog Hop

Hi everyone,

Well I am so very very happy to be part of this fantastic blog hop between Stencil Girl and PaperArtsy.  It started on Wednesday - and if you haven't already seen all the other wonderful projects, then there's a list of links at the bottom of this post!  PLUS there's a...


* * * * * * * * * * * * * * *


Visit the fabulous designers from both teams and comment for your chance to win!
The more blogs you comment on, the more chances you have to WIN!
(just one comment per blog please.)

You have until Friday, December 30th at 11:59PM Central Time to leave your comments.
The winner will be announced on Sunday 1 January onStencilGirl's Facebook page and PaperArtsy's blog


* * * * * * * * * * * * * * *

And now onto my project. 

I created this art journal page, layering up paint, ink, embossing paste and of course stencils! And this is how I did it...


1) I used my Dylusions 8"x8" black journal for this page (I really like using dark backgrounds as a base at the moment). I stenciled Fresco Finish Snowflake paint through stencil S151 all over the page.


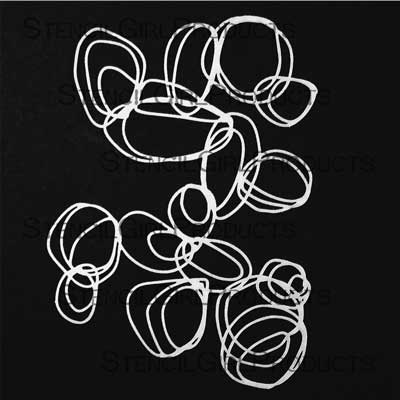
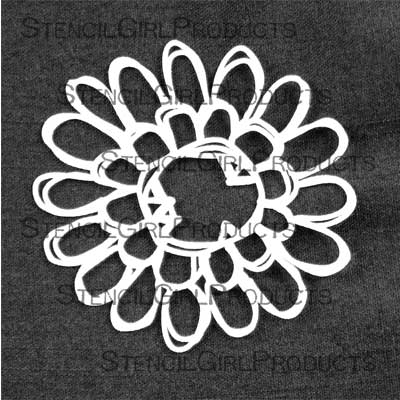
2) Once the paint was dry, I stenciled M071 using Archival Ink Vibrant Fuschia in several places, and then filled in the blank spaces with S331 using Archival Ink Paradise Teal and Vivid Chartreuse.


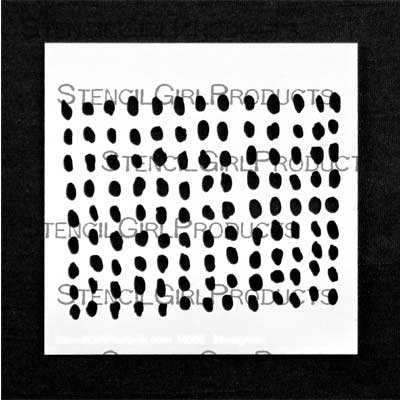
3) I added some dots using Fresco Finish Snowflake paint through stencil M080, and then went back over the top with Archival Ink Buttercup. I wasn't worried if they didn't match up.


4) I swiped some neon pink paint around the page, and also stenciled M071 again - in different places, and this time with Archival Ink Jet Black.


5) I used a black pen to doodle around the pattern made with M080, and a white extra fine Sharpie pen to add lots of dots.


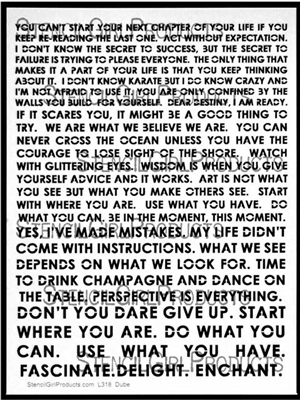
6) I mixed up some Fresco Finish White Fire paint with some Dreamweaver translucent embossing paste, and applied it through stencil L318. It adds a little bit of texture without being too bulky, and the mica in the paint adds a little sparkle when it dries.

7) To finish the page I added a quote from one of my stamp sets (EEG21) - stamped onto PaperArtsy Smoothy cardstock using Archival Ink Jet Black - and then outline the quote and the page with a black pen.


I hope you enjoyed my project - please leave a comment if you did (and that enters you into the GIVEAWAY too!).

The stencils I used are shown below:
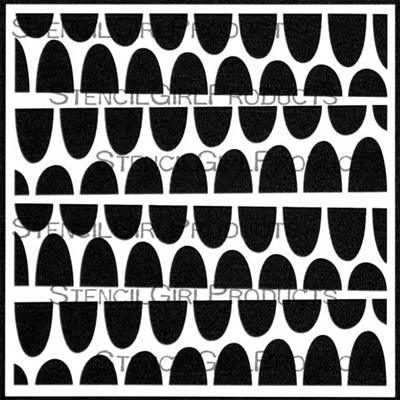

Puddles Stencil by Rae Missigman

Nonsensical Bloom Stencil by Rae Missigman

Repetition Stencil by Rae Missigman

Wall of Words Stencil by Carolyn Dube

Tuesday, 29 November 2016

WOW! Blog Post - Love Is All Around

Hi everyone,

Today I am delighted to be over on the WOW! Embossing Powder Blog with a gift idea using their fab products.


I created a piece of art to fit inside an IKEA frame – perfect for a personalised present. 


All the instructions are on the WOW! Blog, but in case you're wondering I used Archival Ink Watering Can for the stenciling and stamping the WOW! French Music Clear Stamp Set, and Archival Ink Sky Blue to stamp the triangle from the WOW! Let It Snow (by Marion Emberson) Clear Stamp Set.

The brayered background was created using PaperArtsy Amethyst, Haystack, Lake Wanaka, Chalk and Pumpkin Soup Fresco Finish Paints.


All WOW! products are available from their stockists, or on their website. If you haven't tried them yet, I promise you will {love} the new WOW! Sparkles.


Enjoy!

Friday, 25 March 2016

Today ... A Work In Progress - Part 2

Hi everyone,

I'm back with part 2 of my "word of the year" project.  This is where I go up to last time, and you can find Part 1 here.


So here we go... first up I stamped and heat embossed the word "today" (this is an old Technique Tuesday set - I love it because the letters are outline and huge). I then painted inside the letters with PaperArtsy Fresco Finish Gold paint.


Holding the sheet up, I then sprayed quite a lot of Tarnished Brass Distress Spray Stain at the top of the page - I let it drip down the page about halfway, before laying it back down on my table. I left it for a few moments and then blotted off the excess liquid.

Next I wanted to add some texture. I stenciled the dotty circles using Ranger's Texture Paste, and the chickenwire with Dreamweaver Translucent Embossing Paste. I knew the Dreamweaver paste would go completely see through when it was dry, whereas Ranger's paste would stay fairly white (but still show hints of the colour underneath).


I painted some of the Crazing Distress Collage Medium over the circle stencils and onto blank areas too. I then went a little crazy with Tim Holtz's splatter tool and PaperArtsy Fresco Finish Little Black Dress paint. I {heart} the effect.


I added some Distress Crayons over the circle stenciled areas, and blended the colours in with a wet wipe. I think it was probably a bit too wet, as the colours merged into one to give an overall purple effect. But I still like it. In the picture below you can see the Crazing Collage Medium - I may still go over this again with the crayons  and work them in with a damp finger instead..


My final steps for this part was to add some spots with some white paint and the wooden end of a paintbrush, and ...


... some squiggles with my favourite Sharpie Extra Fine White Paint Pen.


Here's another close up ...


That's it for now ... but there will be more to come ... look out for Part 3 coming soon.

Enjoy!

Sunday, 20 March 2016

Today ... A Work In Progress - Part 1

Hi everyone,

At the start of this year I decided not to set New Years resolutions (after all, I never stick to them!), and instead I chose a word to focus on for 2016.  My word is TODAY.

I've found that it's really helped me to focus on what I want to do - every morning I will think "what do I want to achieve today?" and change that answer into a statement (or two) - "Today I will ...".

In January I brought myself an IKEA Ribba frame - one of the big ones with room for a 12"x12" picture - with every intention of creating something for it to represent my word of the year. Well weeks have passed, and it seemed like such a big project that I never could find time for. Until today. I've decided to start it - afterall, I don't need to finish it in one day do I?  So this is Part 1 of my journey - I have no idea how it's going to turn out - but what's the worse that could happen eh?

I started with a sheet of PaperArtsy 12"x12" Heavy Smoothy, and added some pieces of scrap patterned paper. I then covered it with a layer of Dina Wakely Clear Gesso.


Next I wanted some colour and pattern ... so I stenciled some circles and a sun-ray with Archival Ink Pads - and also the year. (I don't mind if the year can't be seen at the end of the project - but I felt it was important to include it).


Now for some colour. I scrapped various PaperArtsy Fresco Finish paints over the page (Caribbean Sea, Chalk, Limelight, Tango and Bougainvillea).


I then added more Chalk with a brayer to knock the brightness back (just a tad).


I stencilled some text in random areas, and painted thicker areas of Chalk to add more "white space".


I then sanded pretty much everything. I wanted some of the patterned papers to peek back through the layers, and I love the effect of this text piece with a resist effect on it (I think it was a Prima paper).


And that's it for Part 1. Hope you'll join my for the next installment...

Enjoy!